|
|
Create an OST File
1.
Click "File," click "Account Settings" twice, and then choose your account from the resulting window.
2.
Select "Change" from the toolbar, and then tick the "Use Cached Exchange Mode" check box under Offline Settings.
3.
Click "Next," click "Finish" to create the OST file on your hard drive, and then restart Outlook for your changes to take effect.
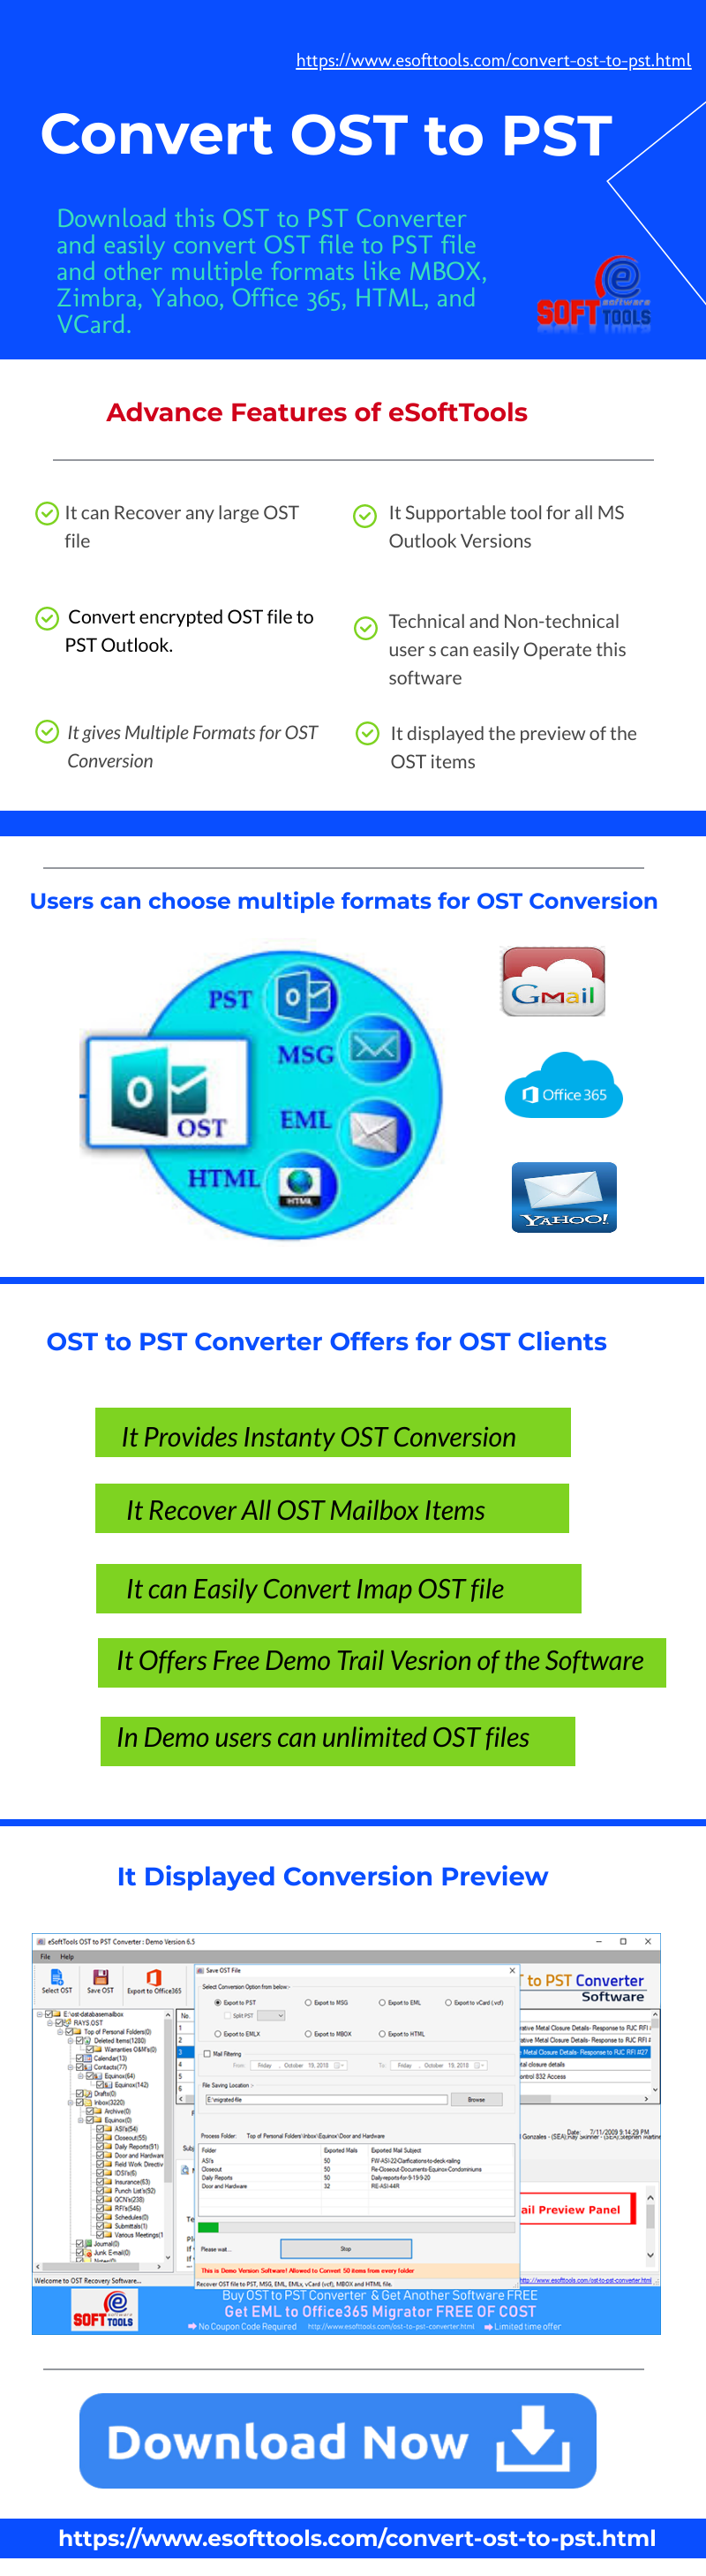
Convert an OST File to PST
1.
Sign on to the computer on which the OST file was created. Disconnect from your network, and then open or restart Microsoft Outlook.
2.
Select "File," click "Open & Export," and then click "Import/Export" to run the "Import and Export" wizard.
3.
Click "Export to a File," choose "Next," select "Outlook Data File (.pst)" from the list of file formats, and then click "Next."
4.
Select your email address or choose the folder you want to export data from, and then click "Next."
5.
Click "Browse," and then navigate to your preferred save location.
6.
Enter an identifying name for your backup file, and then click "OK."
7.
Select "Replace Duplicates With Items Imported," "Allow Duplicates to Be Created" or "Do Not Import Duplicate Items," according to your preferences. Click "Next," and then click "Finish."
8.
Type an optional password with which to secure the data, and then click "OK" to export your data.
9.
Sign on to the other computer or account, and then open Microsoft Outlook.
10.
Select "File," click "Open & Export," and then click "Import/Export" to run the "Import and Export" wizard.
11.
Select "Import From Another File or Program," and then click "Next." Click "Browse," and then go to the network or removable drive containing the PST file you created.
12.
Choose the appropriate file, click "Next," choose the folder to import data from or use the default selection to import the contents of the entire file, and then click "Finish."
|