Transfer Outlook data using free OST to PST converter tool

Previous Topic Next Topic
 
classic Classic list List threaded Threaded
2 messages Options
Reply | Threaded
Open this post in threaded view
|

Transfer Outlook data using free OST to PST converter tool

steaveroggers
 Download 
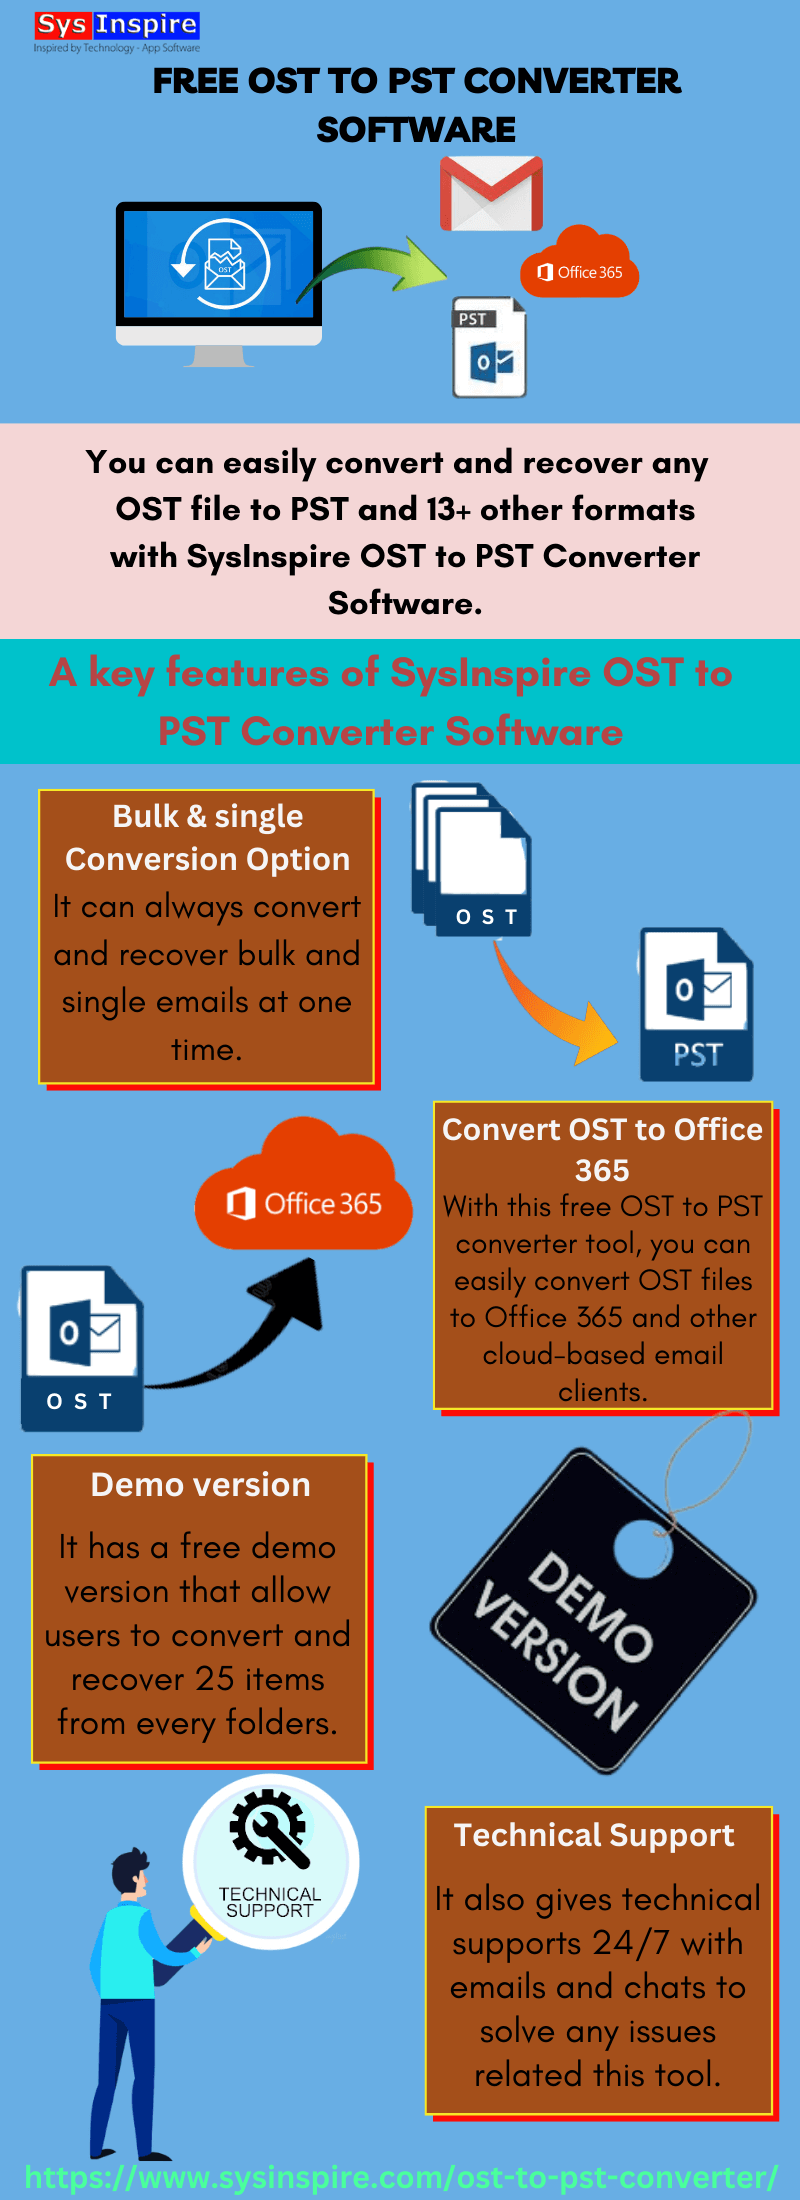
SysInspire OST to PST Converter Software,  users can easily Transfer Outlook data using free OST to PST converter tool. it is a very effective way to Import Outlook OST file to Yahoo mail and It is run on all Windows OS such as Windows - 8, 9, 10, 11, XP, Vista. This software comes with advanced features like Multiple naming options, Mass Conversion, Damaged OST files recovery, etc. If you are not satisfied with this software, you get a 30-day money-back guarantee and give you technical support 24/7. Check the free demo pack of this Software and get 25 items of each folder of OST files in different formats free.

Read More - Free OST to PST converter tool

Reply | Threaded
Open this post in threaded view
|

Re: Transfer Outlook data using free OST to PST converter tool

Akshay_M
Converting an OST (Outlook Offline Storage Table) file to a PST (Personal Storage Table) file manually can be a bit complex, and it's typically done when you have a specific need for it, such as recovering data from a damaged OST file or migrating your Outlook data to a different account. Here's a step-by-step guide on how to do it manually:

Important Note: Before you proceed, make sure you back up your original OST file, as the process involves manipulating Outlook data files. Additionally, these steps are intended for advanced users who are comfortable working with system files and data conversion.

Step 1: Close Outlook

Ensure that Microsoft Outlook is completely closed before you begin the conversion process.

Step 2: Locate the OST File

Go to the following location on your computer:

makefile
Copy code
C:\Users\<Your Username>\AppData\Local\Microsoft\Outlook\
Replace <Your Username> with your actual Windows username.

Find the OST file that you want to convert. It will have a ".ost" file extension.

Step 3: Create a New PST File in Outlook

Open Microsoft Outlook.
Click on "File" in the top left corner.
Select "Info," and then click on "Account Settings."
In the Account Settings window, go to the "Data Files" tab.
Click on "Add," then choose "Office Outlook Personal Folders File (.pst)."
Choose a location and name for your new PST file, and set a password if desired. Click "OK."

Step 4: Copy Items from OST to PST

In Outlook, you'll now see the newly created PST file in the left sidebar.
Click on the OST file in the sidebar to select it.
Select the items (emails, contacts, calendar events, etc.) you want to copy from the OST file to the PST file.
Drag and drop the selected items from the OST file to the PST file in the left sidebar. This will copy the items to the PST file.

Step 5: Compact and Repair PST (Optional)

After copying the data, you can optionally compact and repair the PST file to optimize its performance and check for any issues:

Close Outlook.
Search for and run the "Inbox Repair Tool" (ScanPST.exe) on your computer.
Browse and select the PST file you just created and click "Start."
Follow the on-screen instructions to complete the repair process.
Step 6: Remove the Original OST File

You can choose to delete the original OST file if you no longer need it. Make sure you have successfully copied all the necessary data to the PST file before doing this.

Step 7: Import PST File (Optional)

If you want to access the data from the PST file in a different Outlook account, you can import it:

Open Outlook.
Go to "File" > "Open & Export" > "Import/Export."
Choose "Import from another program or file" and click "Next."
Select "Outlook Data File (.pst)" and click "Next."
Browse and select the PST file, and choose whether to replace, allow duplicates, or merge data. Click "Next."
Select the destination folder for the imported data and click "Finish."
These steps should help you manually convert an OST file to a PST file using Microsoft Outlook. Remember to exercise caution and create backups before making any changes to your Outlook data files.