Best Sysinspire MBOX to PST converter.

Previous Topic Next Topic
 
classic Classic list List threaded Threaded
3 messages Options
Reply | Threaded
Open this post in threaded view
|

Best Sysinspire MBOX to PST converter.

jeniferdesula
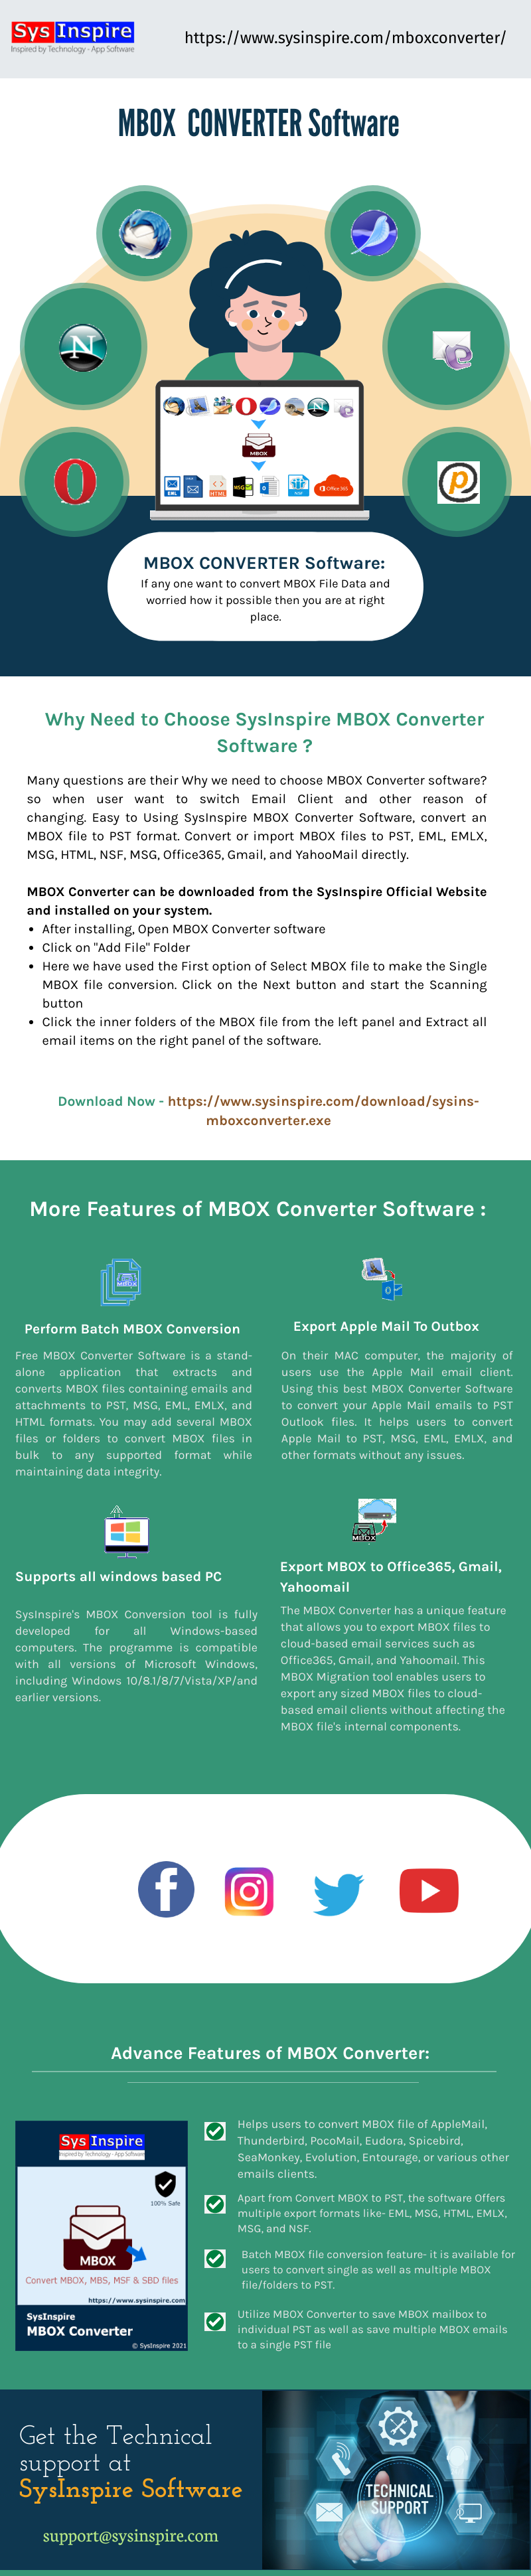
To convert a large number of MBOX files to PST format, use the best Sysinspire MBOX to PST converter. Even after the export procedure, it ensures that the user saves all of their emails in the same folders and subfolders of their PST file. Users can also rename the resulting PST file and save it to their preferred folder within the system. Any MBOX-supporting email client, such as Thunderbird, Apple Mail, Entourage, and others, can use the programme to open MBOX files. This utility is simple to instal on any Windows version. It is compatible with all Windows versions, including Windows 10, 8, 8.1, 7, and all previous versions.


Read More:-  Convert MBOX to PST 

Reply | Threaded
Open this post in threaded view
|

Re: Best Sysinspire MBOX to PST converter.

metiw48337
The most user-friendly and powerful software for converting all data from MBOX to Outlook is Softaken MBOX to Outlook Converter. When converting MBOX files to the PST format for MS Outlook, the software preserves and stabilizes the original file structure and Meta properties of the desired file. It starts the conversion without destroying or distorting any information.
Reply | Threaded
Open this post in threaded view
|

Re: Best Sysinspire MBOX to PST converter.

Akshay_M
In reply to this post by jeniferdesula
To migrate from an MBOX email client to Outlook, you will have to convert your MBOX file to a PST file. To move the MBOX format emails to PST, you have to follow these three simple steps:

Save MBOX emails as EML files.
Drag and drop the EML files to Outlook.
Export emails to PST files.
To save emails to PST files, you can use the Export feature of Outlook.

Save MBOX Emails as EML Files

Most MBOX email clients will have a feature to save emails as EML files. We have shown the process for Thunderbird:

Open the MBOX email client. Right-click on a folder and click New Folder option.Open the MBOX email client
Enter a name and click Create Folder.Enter a name and click Create Folder
Select all the EML messages you want to migrate and move them to the newly created folder.Select EML Messages to Migrate
Now all the emails are present in the folder.All the emails are present in the folder
Choose all the emails and select the Save as option. It will save the emails in EML format to any desired location.Save the emails in EML format
Export Emails to an External Folder
There is another method to export selected emails to an external folder – using an add-on. It can be used to export a large number of emails from multiple folders.

Open Mozilla Thunderbird and click the ‘Display the thunderbird’ icon with three horizontal lines.
Click Add-ons>>add-ons, then choose the Get Add-ons option.
Choose ImportExportTools add-ons and click ‘Add to Thunderbird’.
In the Software Installation wizard, click the Install option.
After adding the add-on successfully, you can restart Thunderbird.
After opening Thunderbird, you can choose any folder and right-click it. Click ImportExportTools NG>>Export all messages in the folder >>EML format.
Select a destination folder and save the EML file there.
Drag and Drop EML Files to Outlook

MS Outlook can access EML emails. This is how you can import EML emails to Outlook:

Open the folder where EML files are saved. Select all the emails and simply drag and drop them to any Outlook folder.Open the folder where EML files are saved
Export Emails to PST Files

To export the emails to a PST file, follow Fil > Open & Export > Import/Export.Export MBOX to PST File
In the Import/Export wizard, choose Export to a file and click Next.Import/Export Emails from MBOX to PST
Select Outlook Data File (.pst). Click Next.Select Outlook Data File
Go to the folder where EML files are saved and click Next.Go to the EML files folder and click Next
Input a location for the new PST file, choose the desired option, and click Finish to end the process.Choose the desired location
Note: You can also assign a password to the newly created PST file.
A new PST file is created at the desired location.