Convert NSF to PST with Lotus Notes

Convert NSF to PST with Lotus Notes

|
Get this best SysInspire free NSF to PST Converter software that gives a secure way to convert NSF to PST without doing any moderation in the data. It can quickly export NSF mailbox into PST and many other formats with maintaining all folder hierarchy and email properties such as from, to, bcc and subject. You can also go with the tested version of the NSF to PST Converter software from the given link.
Here are more details:- Convert NSF to PST with Lotus Notes 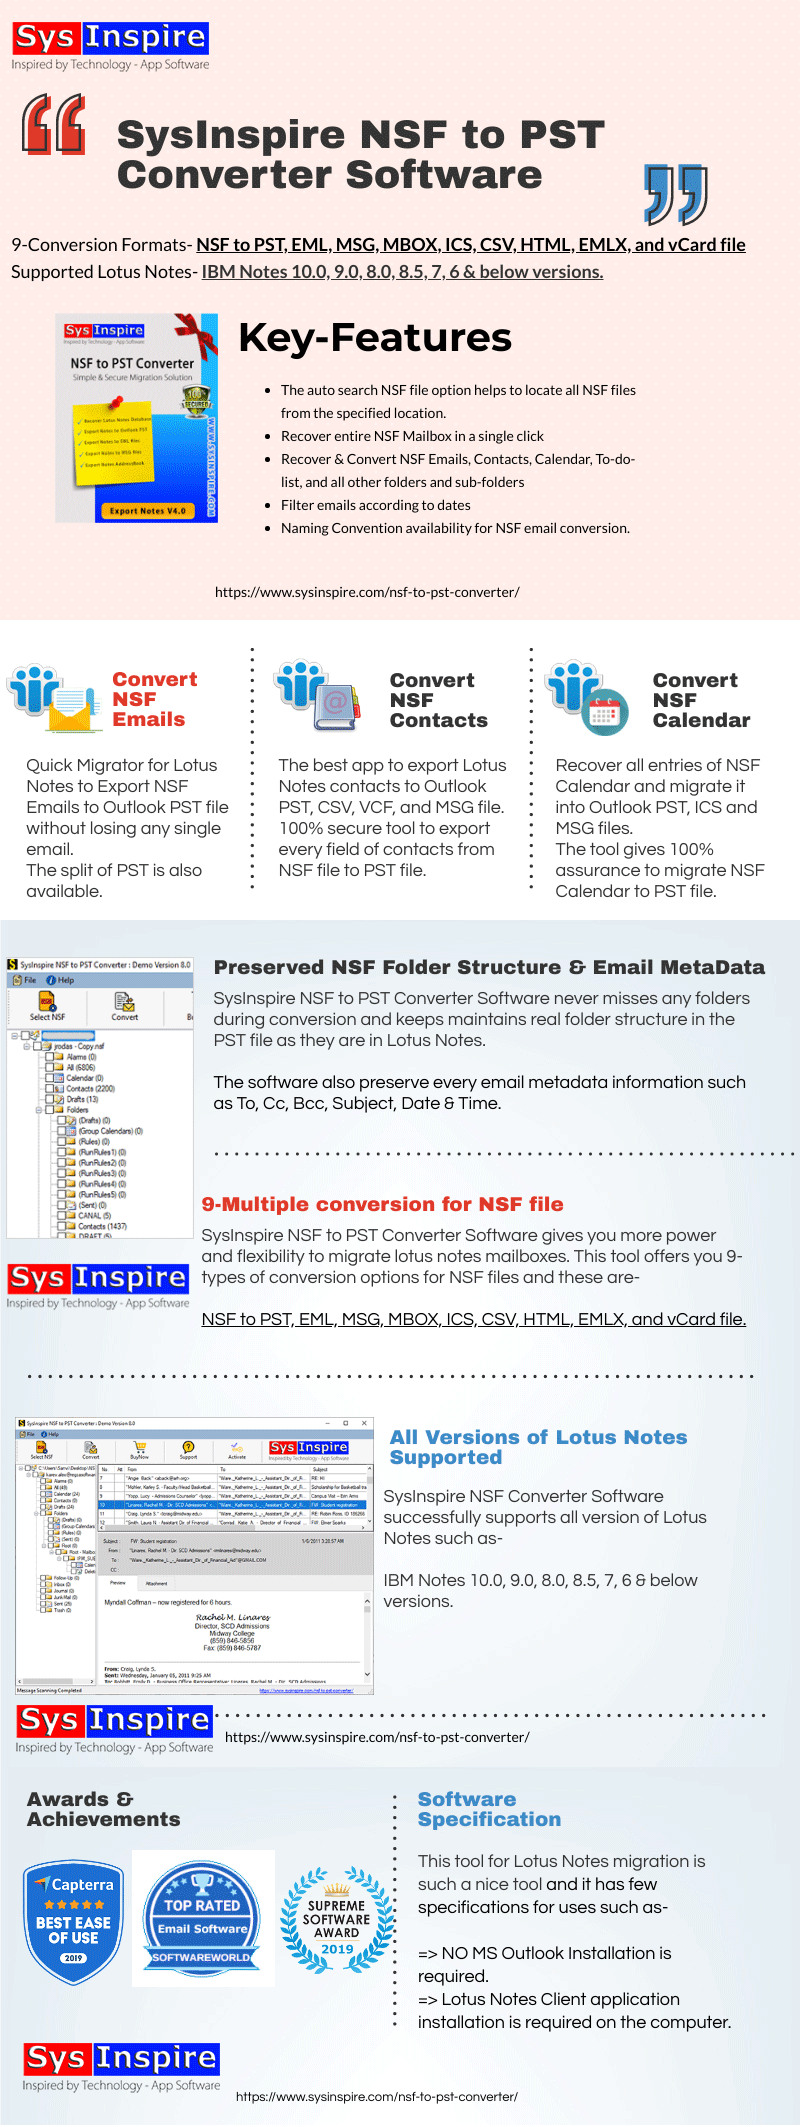
|
|
|
The manual method to convert NSF files into PST files is performed in two stages.
Export NSF files from Lotus Notes to an intermediate CSV file Import the intermediate CSV file into MS Outlook Step I: Export NSF Files to CSV To export NSF files from Lotus Notes, perform the steps given below Launch IBM Lotus Notes program. Click File > Open > Louts Notes Application. In the Open Application window, browse for the required NSF file and click Open. The selected NSF file gets opened. Browse the required NSF file Now, on the File menu, click Export. On Export dialogue box, enter the file name, file location, and saving type. Select the Comma Separated Value format for the file. Select the comma seperated value A dialogue box CSV Export gets open. Select the required options from How much to export, Export Character Set and Detail to Incorporate sections. Click OK. Select required option The exported data gets saved in CSV file gets saved in the defined location. Step II: Import CSV File into Outlook Import the Intermediate CSV file into MS Outlook by following the steps: Launch MS Outlook program. On the File menu, click Open & Export, and then click Import/Export. Click Open & export An Import and Export Wizard dialogue box pops up. Select Import from another program or file from the options. Click Next. Import and Export Wizard dialogue box Select Comma Separated Values as file type and click Next. Select Comma Separated Values Click Browse and select the path for CSV file created earlier using the Export command of Lotus Notes. You can select the options according to your need. Select path for CSV file Select the Outlook folder where you want to save your exported data and click Next. Select Outlook folder to save exported data Select the given checkbox in the Import a file dialogue box and click Finish. You can also change your destination or map custom fields by clicking on the same name options. Change your destination location The data from the “CSV file” would be imported to “MS Outlook.” |
|
|
In reply to this post by Larry Chadbourne
|
«
Return to OFBiz
|
1 view|%1 views
| Free forum by Nabble | Edit this page |